Introduction and Prerequisites
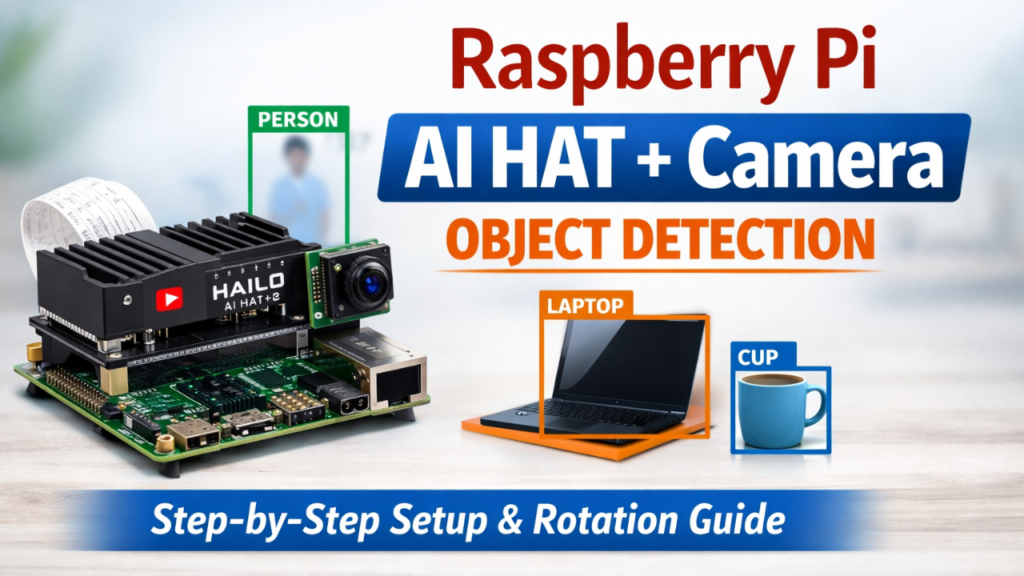
The Raspberry Pi AI HAT+ 2 is a powerful AI accelerator designed to work with the Raspberry Pi 5 and Raspberry Pi Camera Module 3, allowing you to perform high-performance object detection directly on your Pi. This guide walks you through the complete installation and verification process and explains how to run live object detection with optional camera rotation.
Before starting, ensure your Raspberry Pi 5 has the post-January 2025 firmware update, as this ensures full compatibility with the AI HAT+ 2 and Camera Module 3. The steps in this guide are designed for Debian 13 (Trixie) or higher.
To follow this tutorial, you will need:
Raspberry Pi AI HAT+ 2
Raspberry Pi 5 with post-January 2026 update
Raspberry Pi Camera Module 3
With these components, you can leverage the Hailo AI accelerator for object detection tasks without relying on external GPUs or cloud services.
Installation and Verification Process
Video Instructions
Step 1 - Update System
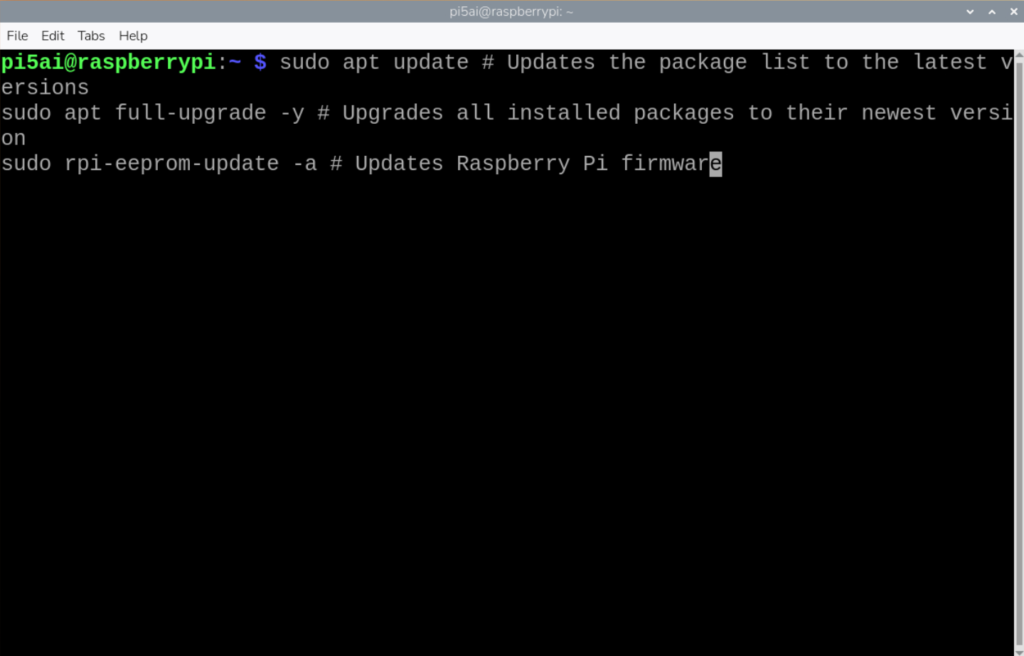
The first step is to ensure your system is up-to-date and all required packages are installed. Run the following commands:
sudo apt update # Updates the package list to the latest versions
sudo apt full-upgrade -y # Upgrades all installed packages to their newest version
sudo rpi-eeprom-update -a # Updates Raspberry Pi firmware
Step 2 - Install the AI HAT and camera packages
Next, install the AI HAT and camera packages:
sudo apt install -y dkms # Installs DKMS for kernel module management
sudo apt install -y hailo-h10-all # Installs Hailo AI HAT drivers (will skip if already installed)
sudo apt install -y rpicam-apps # Installs Raspberry Pi camera applications
sudo apt install -y rpicam-apps-hailo-postprocess # Installs post-processing files for object detection
Step 3 - Verify or Confirm Setup
These commands ensure your AI HAT+ 2 and Camera Module 3 are installed and working correctly.
cat /etc/os-release # Confirms OS version
hailortcli fw-control identify || echo "Hailo device not detected" # Checks AI HAT+
rpicam-hello -t 2000 # Shows a 2-second camera preview
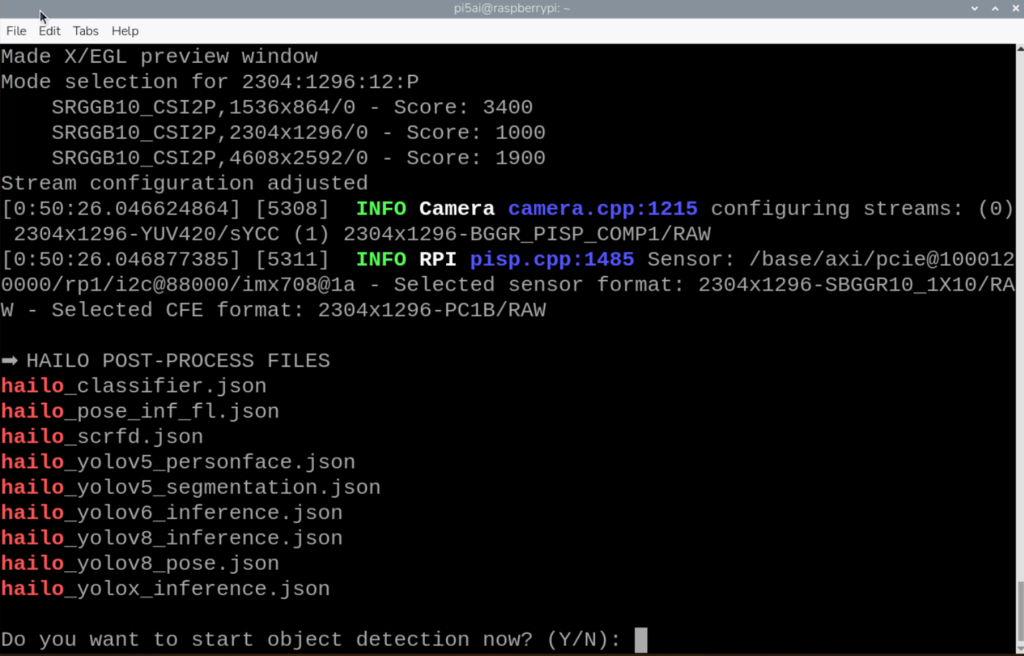
ls /usr/share/rpi-camera-assets | grep hailo || echo "No Hailo files found" # Confirms Hailo JSON files
Step 4 - Run Live Object Detection with Camera (with rotation option)
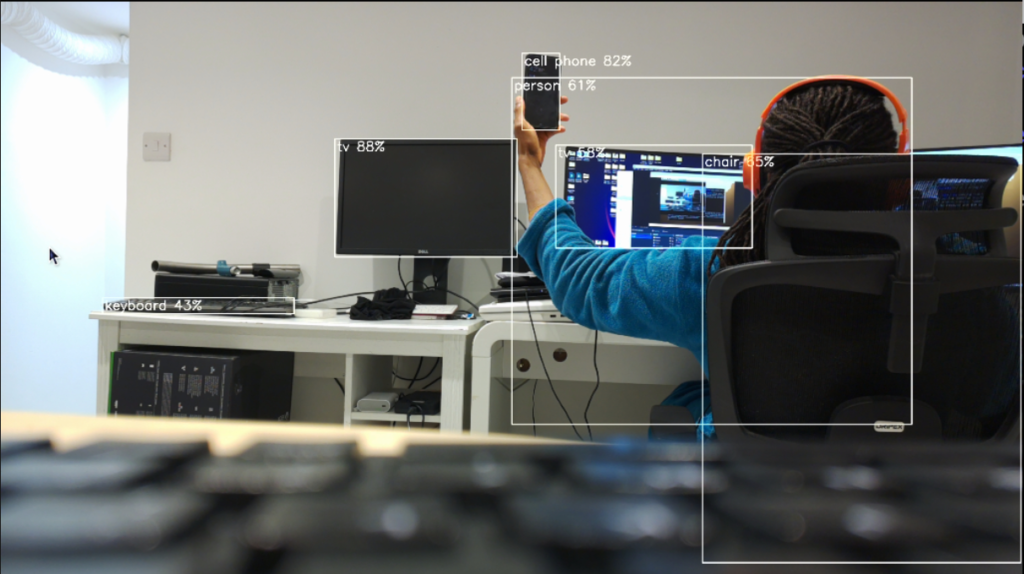
Once your system is ready, you can run live object detection using YOLOv8. You also have the option to rotate the camera feed:
read -rp "Do you want to rotate the camera? (Y/N): " rotate_answer
read -rp "Enter rotation in degrees (90, 180, 270): " ROTATION
DISPLAY=:0 rpicam-hello -t 0 \
--post-process-file /usr/share/rpi-camera-assets/hailo_yolov8_inference.json \
--lores-width 640 --lores-height 640 \
--rotation "$ROTATION"
By following this guide, you have successfully installed the Raspberry Pi AI HAT+ 2, verified the Camera Module 3, and run live object detection with optional rotation. With the AI HAT+ accelerator and Raspberry Pi 5, you can now perform high-performance computer vision tasks without additional hardware.
This tutorial is ideal for hobbyists, educators, and developers looking to experiment with AI on edge devices, and it ensures you leverage the full power of the Raspberry Pi ecosystem.